Friday, 7 September 2012

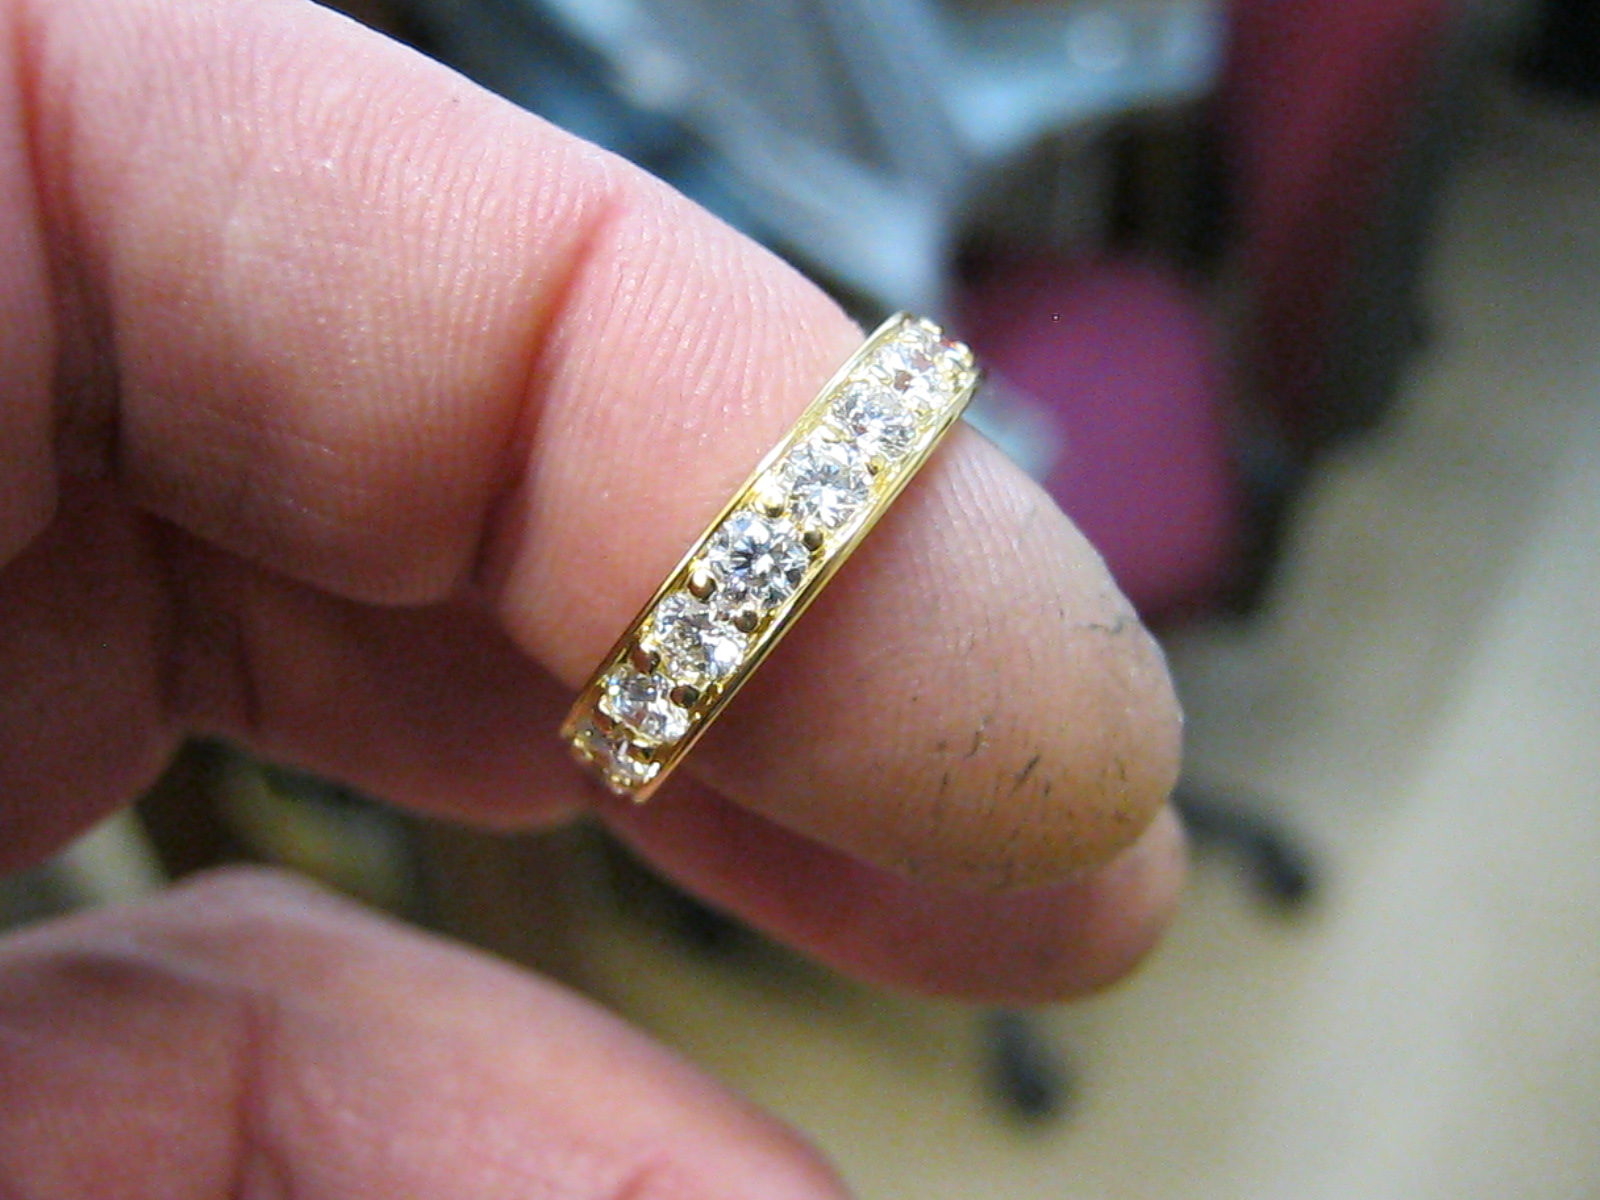
1.7ct Hearts and Arrow Platinum make.

Beauty of a stone to make up today.. in a rush, as usual ;)

Video on top, step by step imagery below.


Forge a bezel
fit stone and divide to prongs 
file prongs
file base 
add undersupport and polish 
 time to make the shank 
roll down and taper the beam 
 platinum wants good annealing!
bend anneal bend anneal bend anneal 
 sweat solder (aka fuse)
fusing gets hot! 
ring is hammered up 4 sizes
with a BIG hammer and lots fo noise 
then time to file it 
which is sweaty work..  
best done with a Bastard file, 
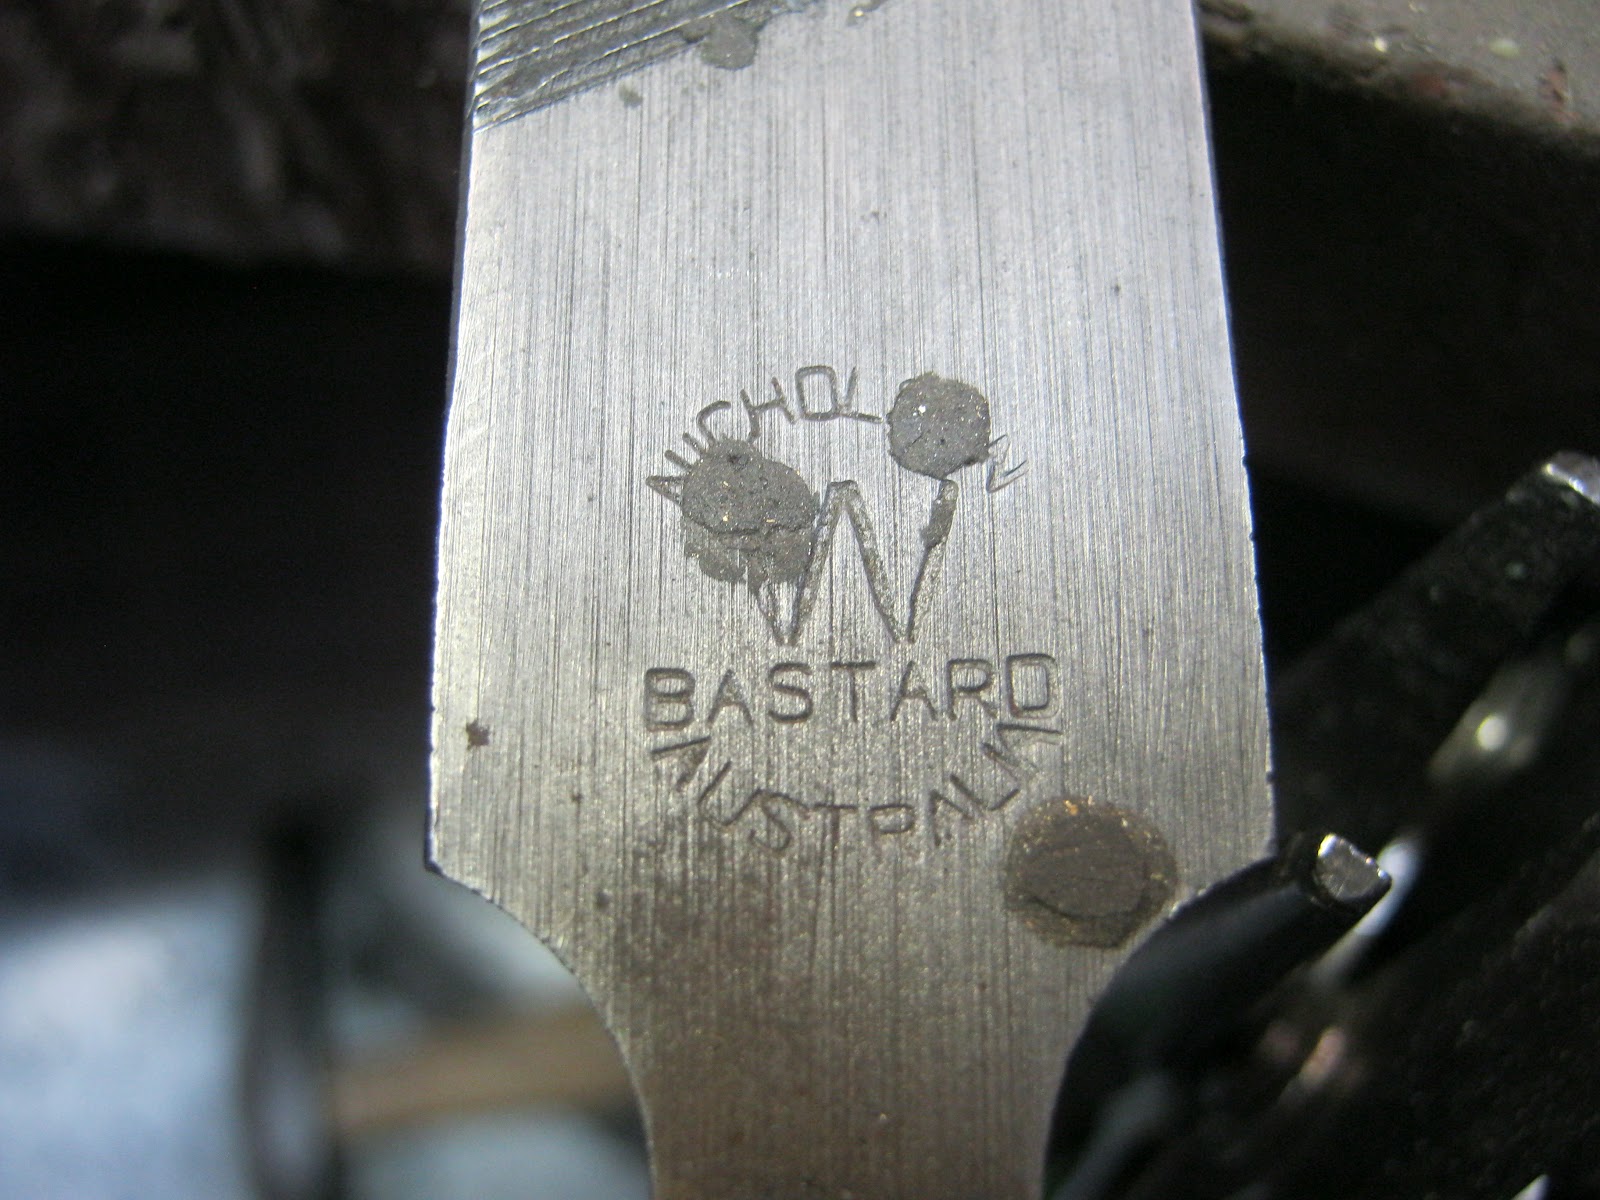
then once in range lets fixture 
 grind a hole for the collet to seat in
and polish all parts prior to soldering 
time to set 
 initial tightening
set and polished 
flashy pics :) 


Monday, 3 September 2012

Ring Compressor strikes again!

20 = 2.10ct set with a ring compressor. 

No engravers or beading tools were used in this. Only drills, burrs and a sawframe and of course a ring compressor. I formulated the methodology because I am .. uhh.. lazy?

BE WARNED.. Dont try do what I do unless you have also nbeen blessed by the gods with an unnaturally long streak of good luck.. potential for this method to go seriously FUBAR and break all your diamonds in one go  is HIGH!


Roll down your beam


Make ring about 2/3 of a size too big. Divide it up for the stones


scribe and centre punch stone locations


Mark and drill the pilot holes.


bur your grooves and open up the seats


sawpierce your border and polish it all up


place stones in ring, held in place with bees wax


SQUUEEEEEEZE!!!!!


polish and done! 


Thursday, 30 August 2012

15ct Tanzanite Make

This was a great job to be involved in, lovely stone too. 

The stone itself is AWESOME!


I opted for a cad result simply because the the sheer volume of metal and angles to access would have been a lemel nightmare. Also using a cad solution allowed me to get s VERY precise fit on that beautiful stone. 

A few consultations had us arrive at a very simple dual band design, after MANY other designs had been drawn up first,

(these were the rejected designs)


so this simple pencil sketch is what landed the job after 4 other CAD drawings featuring crossover sweeps and diamond halos failed to titillate the client :)


A rudimentary Cad representation of the Pen Sketch

And teh stone was modelled PRECISELY, if you know anythign about Tanzanites you will know they are NOT a setters friend, the like to break VERY easily. 

These two images were taken into cad and the dimensions of the physical stone added to extrapolate a perfect stone model


and off to CNC to cut the wax :)


After the mount arrives back on my desk its time for cleanup and preparation and one final fingersize check with the client prior to mounting the stone, the last thing we want is to have to resize this job after setting!


After the client fitted the ring we set about mounting the stone, and start the process by making the while ring ugly again with shellac and other holding polymers.


And finally.. She lives! and awesome beauty!


Wednesday, 29 August 2012

Handmade Threestone Step by Step

A nice job, had to be FAST because its due NOW!

Images are self explanatory, (well to jewellers anyhow) 

Platinum Head, 750Yellow shank set with 2.2ct centre and 0.70ct each side. 

Start with Video of finished piece and follow with step by step make up :)


Thursday, 23 August 2012

My First Monogram Plate.

I have not had much time to play around with engraving so this plate has been a back burner one :)

The monogram started life in Rhino as Chopin Script 
and then edited to blend and overlap before going to Xara for printing
the border similar process, a corner EPS from the web, scaled and rotated to create the border.

Then fun time!


and here is the hires macro video.