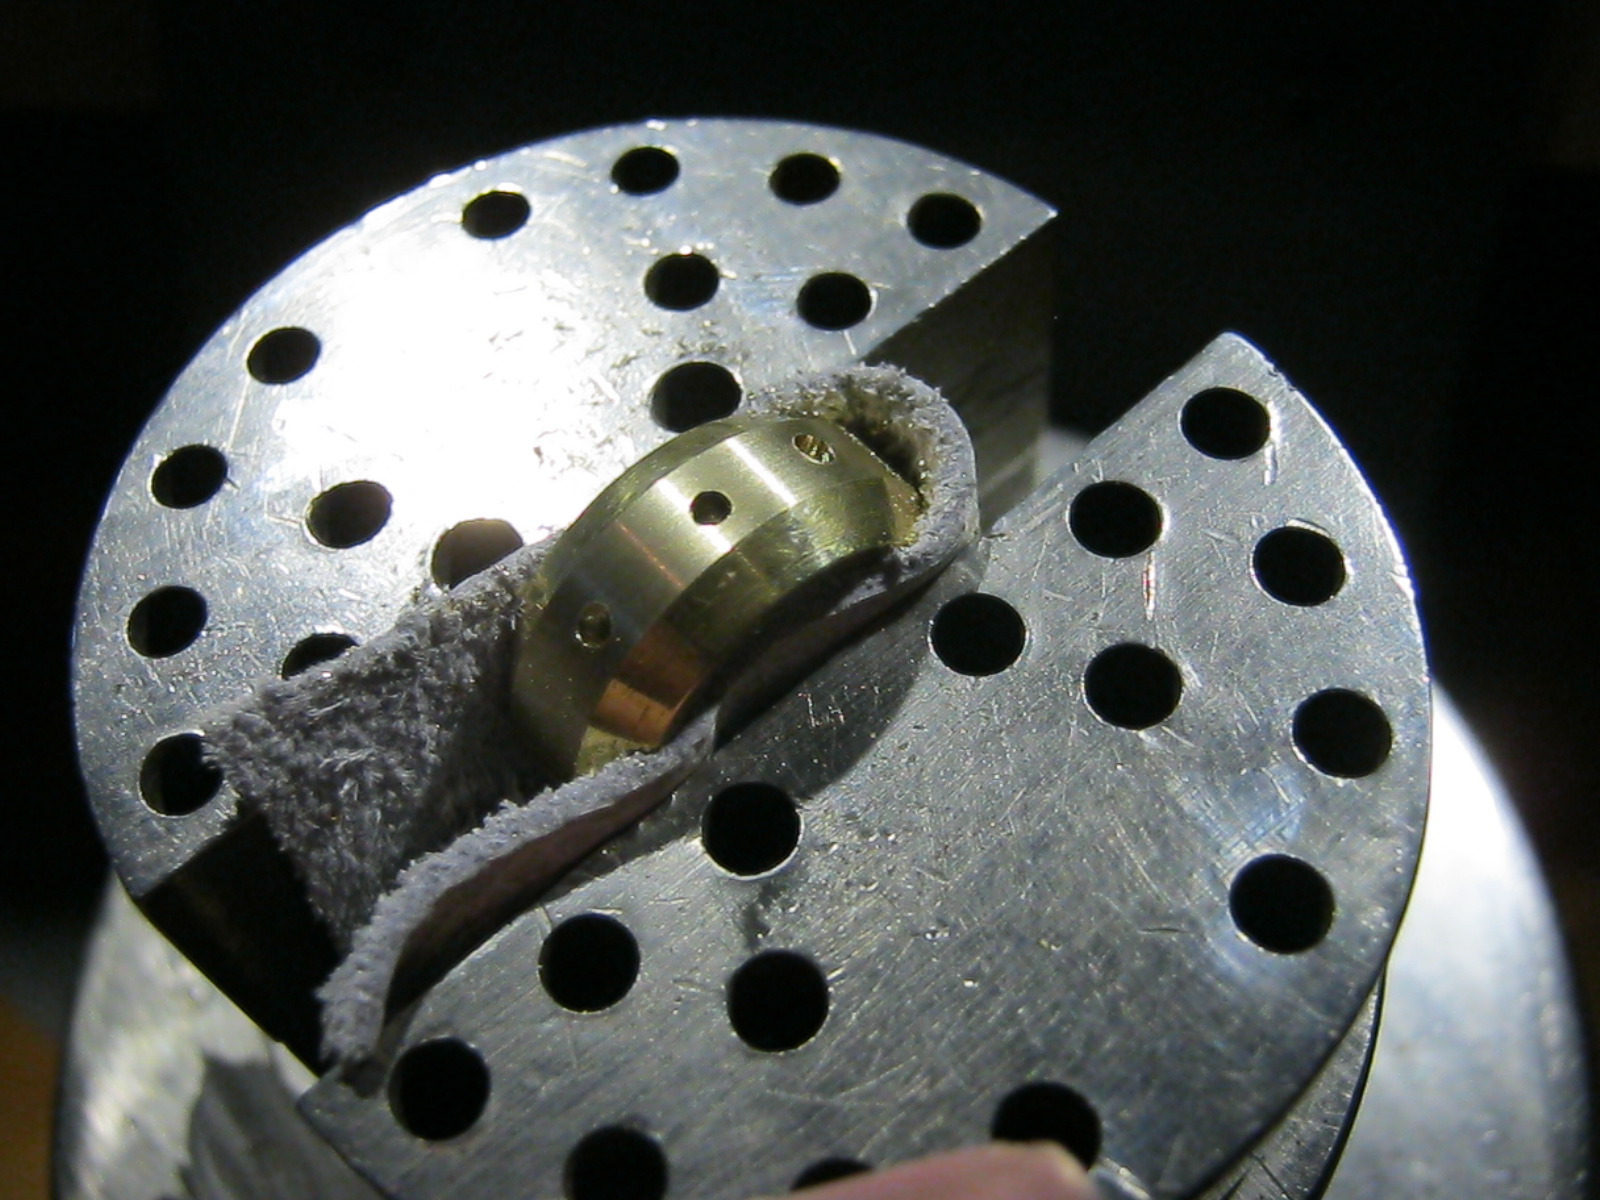
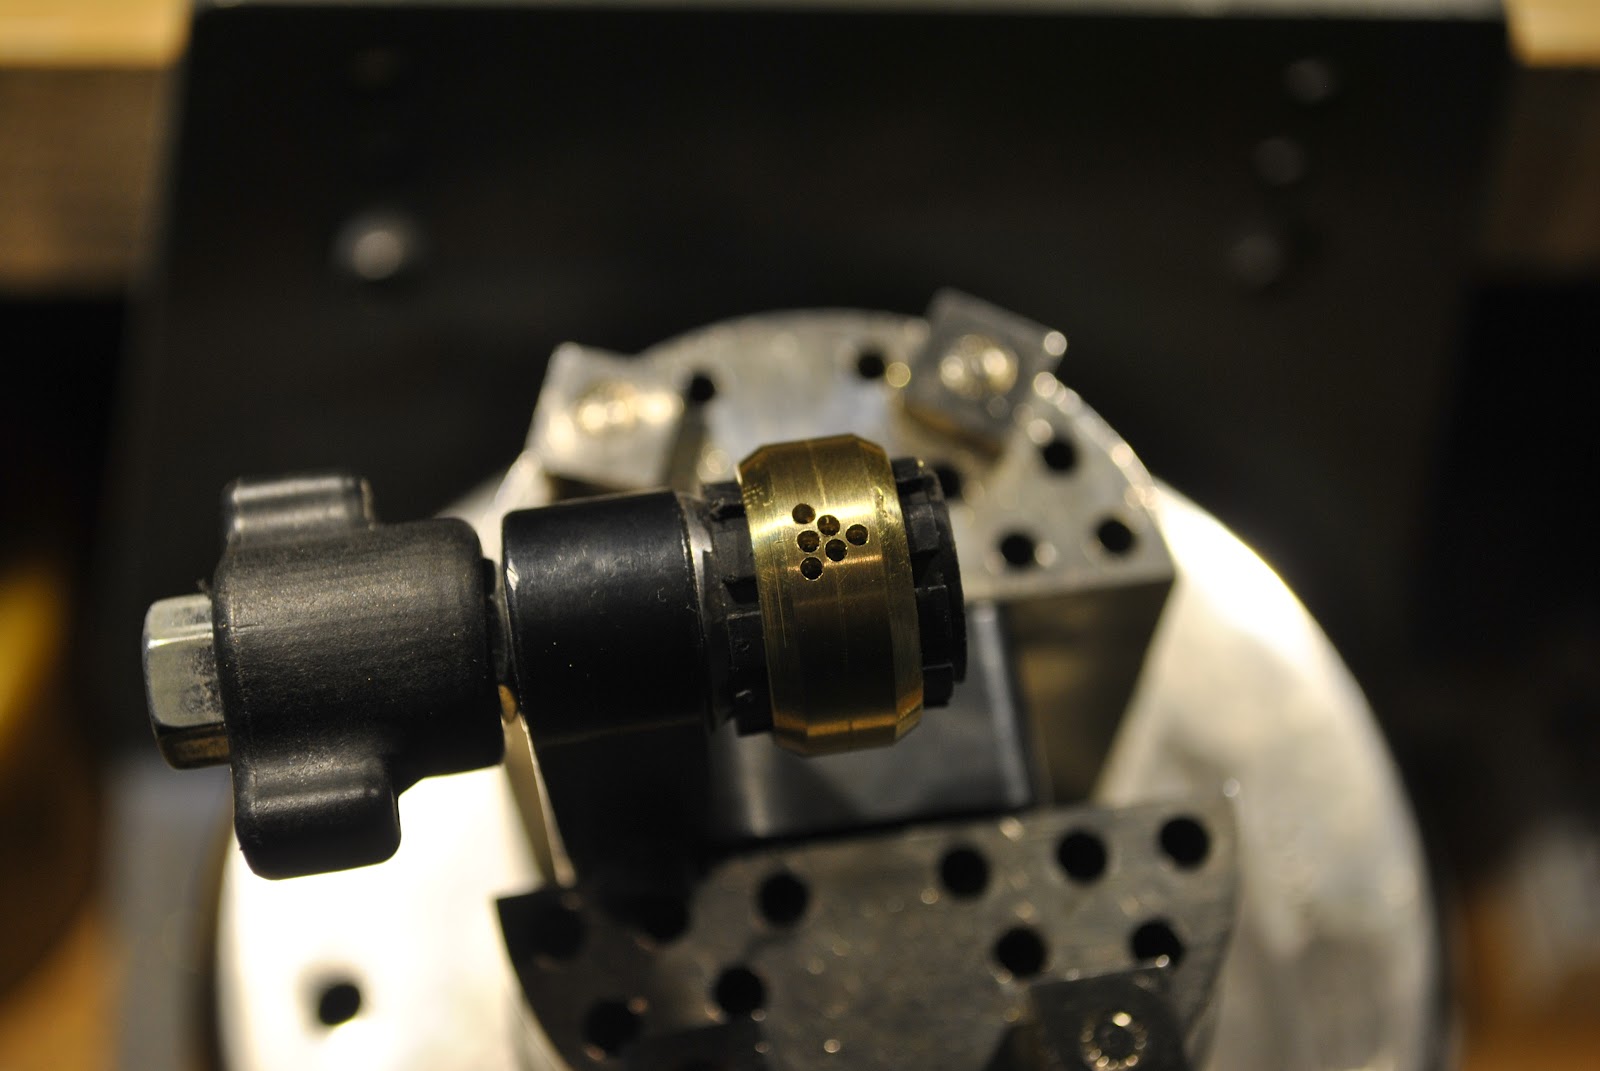
My wife and I had the pleasure to make a lovely
couples dream rings come to life, in time for their dream wedding!
The couple decided an "OFF THE SHELF" solution was NOT what they wanted so they decided to custom make their own wedders with a design special and unique to them both, and they managed to come up with something rather special.. A mix of Ogham and Celtic script, describing their love and vows for each other!
Happily we were chosen to bring these rings to life.
The design was somewhat complex and of the clients own making, we were furnished with these images in the brief
The ring layouts, Done by client

.jpg)

The couple decided an "OFF THE SHELF" solution was NOT what they wanted so they decided to custom make their own wedders with a design special and unique to them both, and they managed to come up with something rather special.. A mix of Ogham and Celtic script, describing their love and vows for each other!
Happily we were chosen to bring these rings to life.
The design was somewhat complex and of the clients own making, we were furnished with these images in the brief
The ring layouts, Done by client

The profile and Layout of the Gents Ogham Script band
.jpg)
And rather precise spacing and layout of the script

So the work on it began in earnest.. and I mean in earnest!
Turnaround time was marginal and required high speed courier services between us in Melbourne and the Clients in Hong Kong!
and of course.. Disaster struck.. MISCAST!

The gents Ogham band was a casting fail and had to be hand made and hand engraved to make the deadline!

And then we had to remanufacture the ladies band too! No errors or issues, but the clients decided they wanted a thicker band to suite the existing engagement ring.. .. NOTHING like pressure when i job is ALREADY overdue! Soo.... Overnight milling, in the mill room till midnight, next day cast and finish.. JUST IN TIME to ship to client for the wedding!
SO! All is well that ends well! Ladies skip to bottom for pretty ring and wedding pictures if manufacturing videos bore you ;)
and of course.. Disaster struck.. MISCAST!

The gents Ogham band was a casting fail and had to be hand made and hand engraved to make the deadline!

And then we had to remanufacture the ladies band too! No errors or issues, but the clients decided they wanted a thicker band to suite the existing engagement ring.. .. NOTHING like pressure when i job is ALREADY overdue! Soo.... Overnight milling, in the mill room till midnight, next day cast and finish.. JUST IN TIME to ship to client for the wedding!
SO! All is well that ends well! Ladies skip to bottom for pretty ring and wedding pictures if manufacturing videos bore you ;)
Millicent Running the Celtic Bands Ladies
This was filmed in stop motion and sped up to present to client to show progress :)
(groovy soundtracks :) )
Millicent Running the Gents Celtic Band
Millicent Running the Gents Ogham Script Band
OK ladies, pay attention again!
The video of the completed bands as presented to the clients before Speed Courier pickup to Hong Kong :)
And after a month the clients sent us some images from the event itself!
To the Happy couple, from Caro and Myself..
CONGRATULATIONS!!!!!


(we quote from the emails from the lovely couple)
Andrew
Hi Caro & Chris,
We are back and had a great wedding and time in Czech Republic...
The 2nd ring Portia absolutely loves - it now fits very nicely / looks great with her engagement ring - thanks again!!!
We are both so very happy with how they turned out :)
Being happy with the rings did make the ceremony more relaxed and much more enjoyable for us both (thanks for your help!)
We are back and had a great wedding and time in Czech Republic...
The 2nd ring Portia absolutely loves - it now fits very nicely / looks great with her engagement ring - thanks again!!!
We are both so very happy with how they turned out :)
Being happy with the rings did make the ceremony more relaxed and much more enjoyable for us both (thanks for your help!)
We hope you enjoy the photos and thanks again so much for the help with the
rings.
Cheers and best regards,
Andrew (& Portia)
Cheers and best regards,
Andrew (& Portia)
Portia
Hi Chris & Caro
We cannot thank you enough for the rings. Well, we simply could not
have been able to have a perfect wedding without them. The 2nd one of
mine fits perfectly and I proudly show it to my friends. They are
amazed! We know how much extra efforts we had made for us. Will never
forget.
We cannot thank you enough for the rings. Well, we simply could not
have been able to have a perfect wedding without them. The 2nd one of
mine fits perfectly and I proudly show it to my friends. They are
amazed! We know how much extra efforts we had made for us. Will never
forget.
With warmest regards
Portia
From Chris and Caro... to Andrew And Portia..
YOU ARE WELCOME!
What a wonderful experience helping these lovely folk achieve the dream wedding they always wanted!
Kind regards All,
Chris and Caro